If you want to build a blog and do it on your own without the need to rely on a blog service to do it for you, VuePress is a great starting place. I will have a couple of articles that show how to get up and running quickly with a blog of your own hosted on Azure. This post will focus on how to get started with VuePress on your dev machine. The great thing is that you can use any operating system you want to create this.
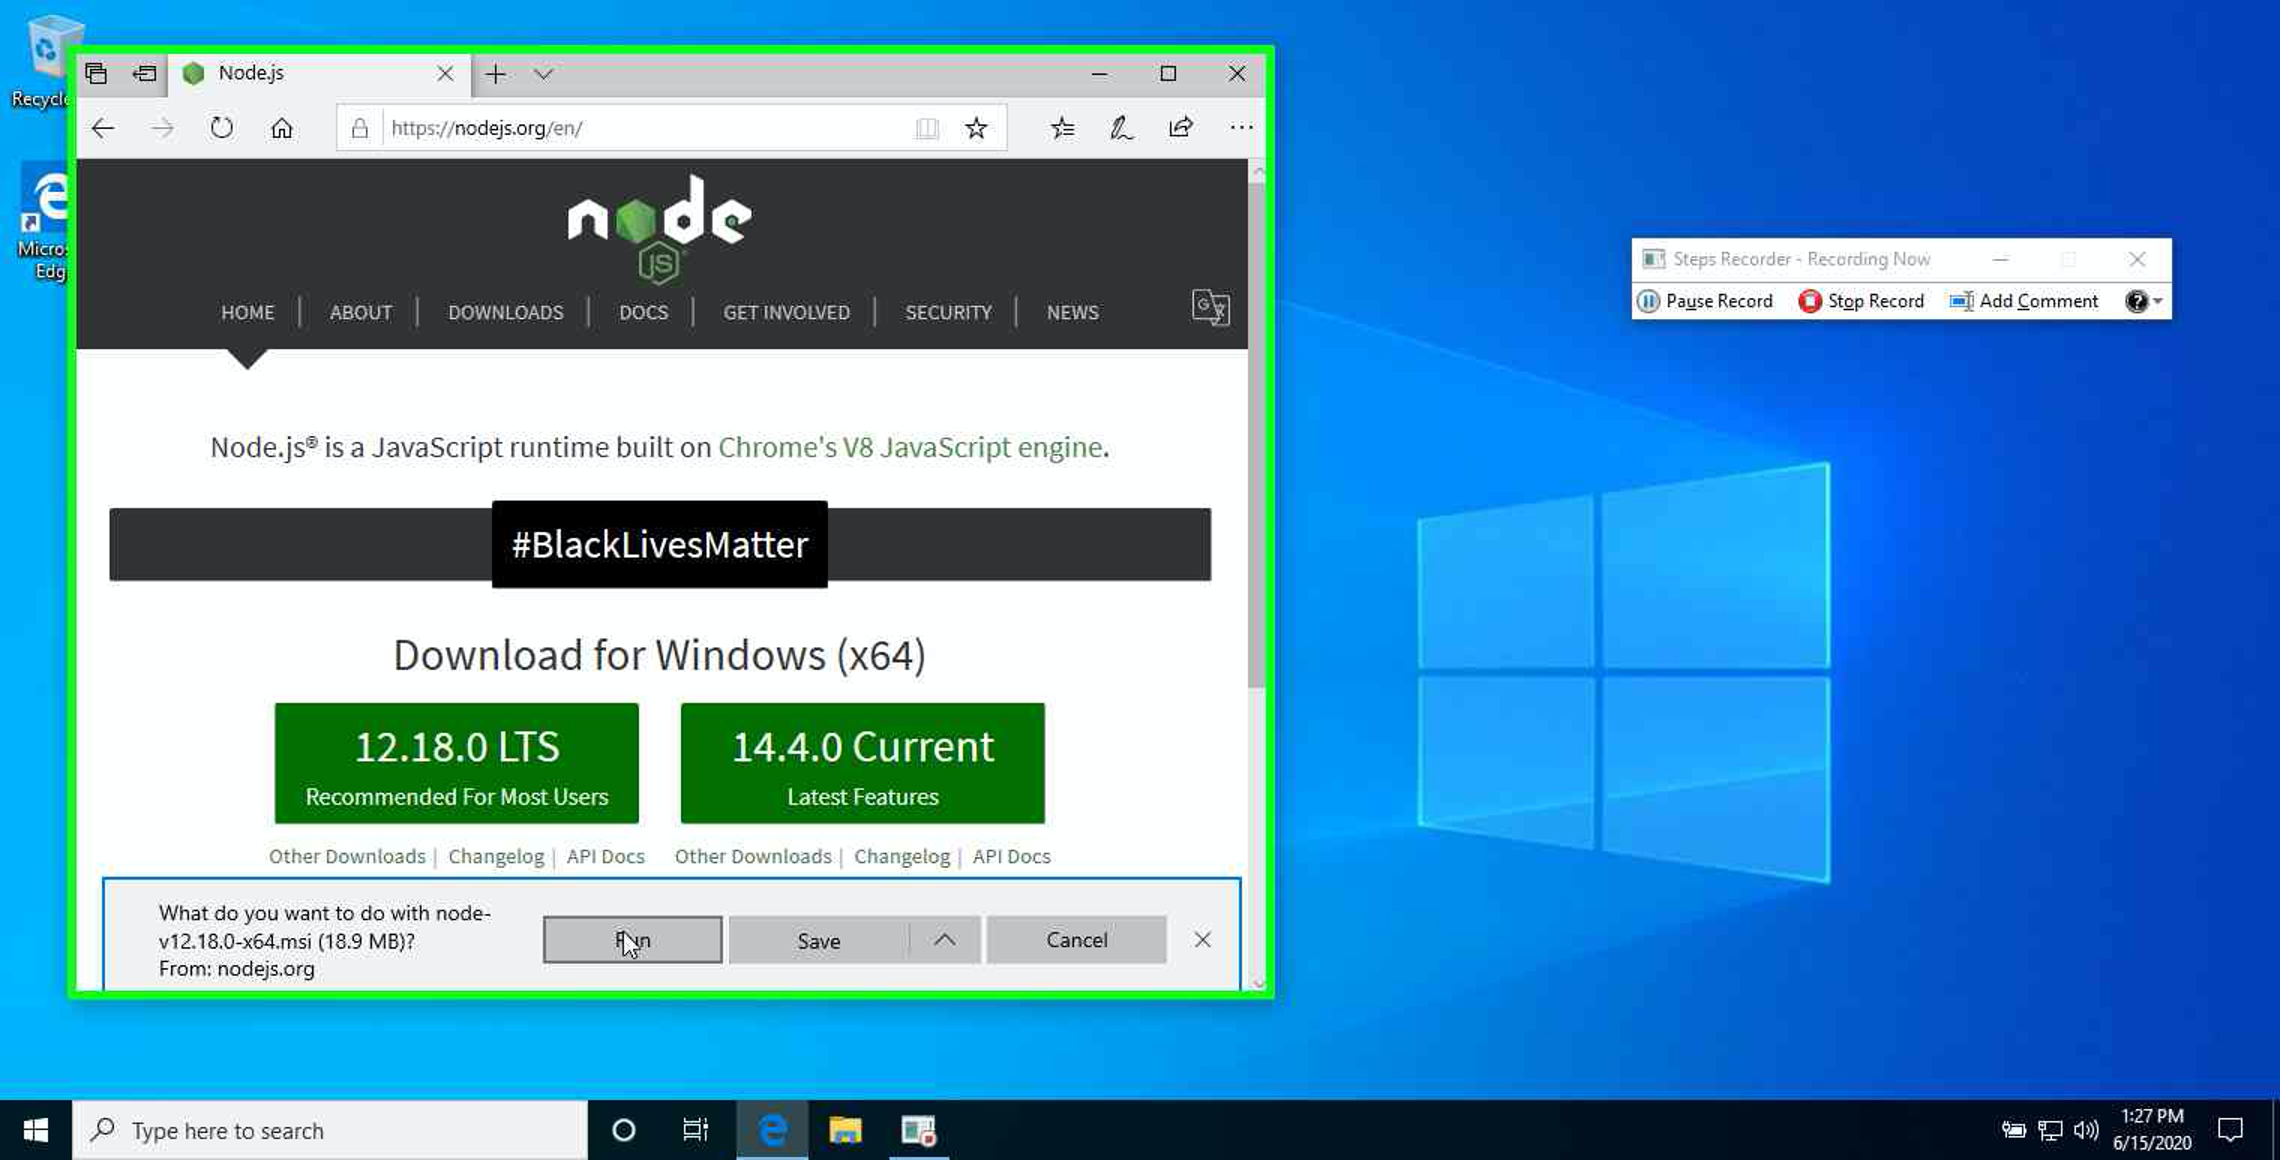
To start, the only thing that is OS-specific will be NodeJS and is available for all platforms. You can find the download page here https://nodejs.org/en/download/. For this, you can use the defaults when going through the installer.
Once you have Node installed, you can open a Command Prompt or Terminal, and the rest from here are a few simple CLI commands.
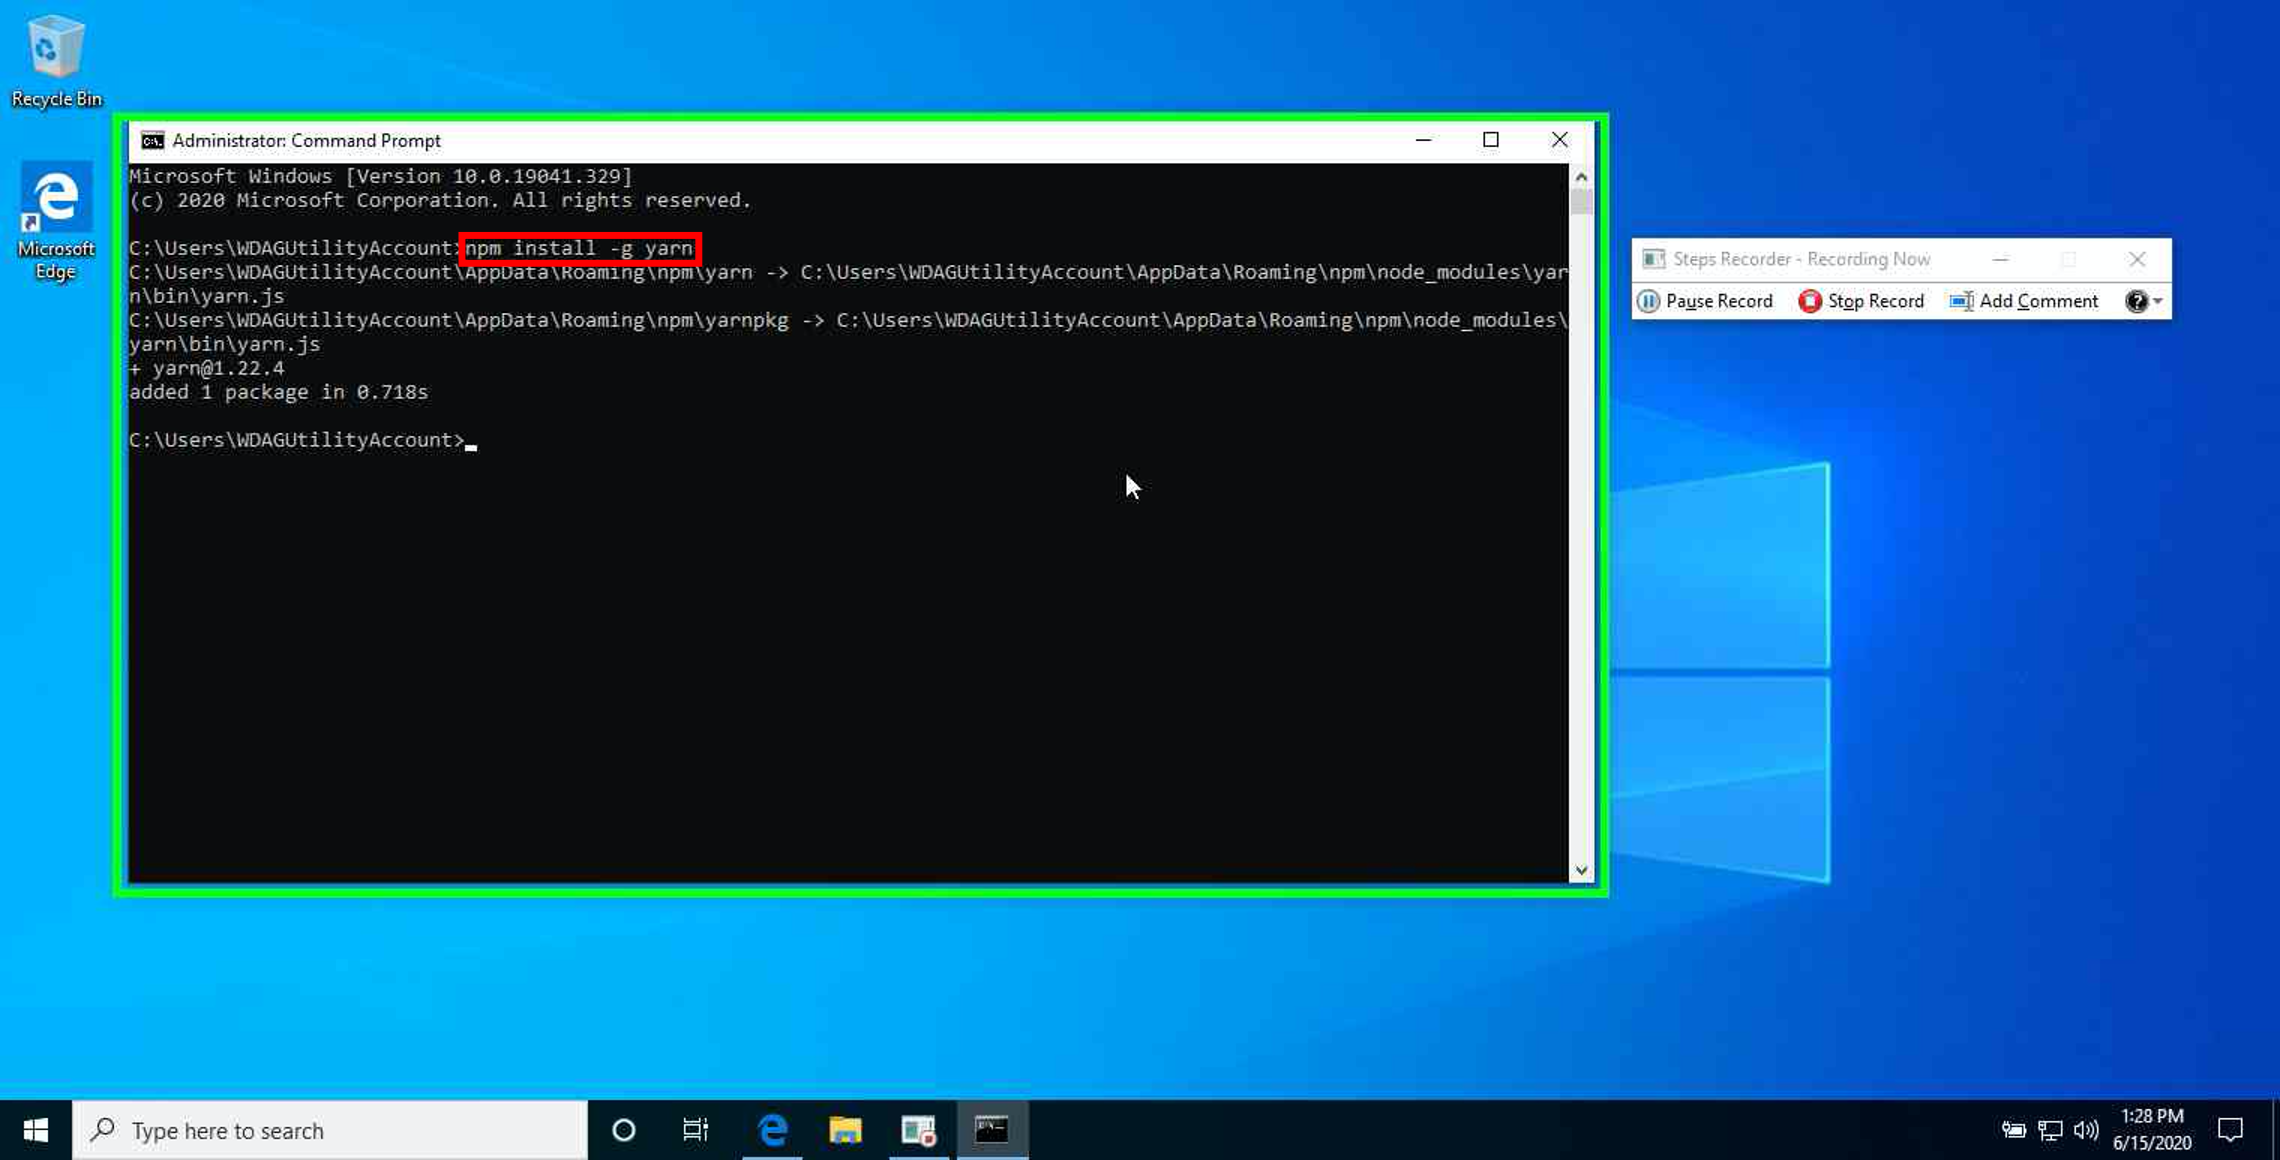
The first command will be npm install -g yarn. Yarn is a package manager that allows you to install packages into the applications that you are building and is similar to npm. You can find more information at https://yarnpkg.com/.
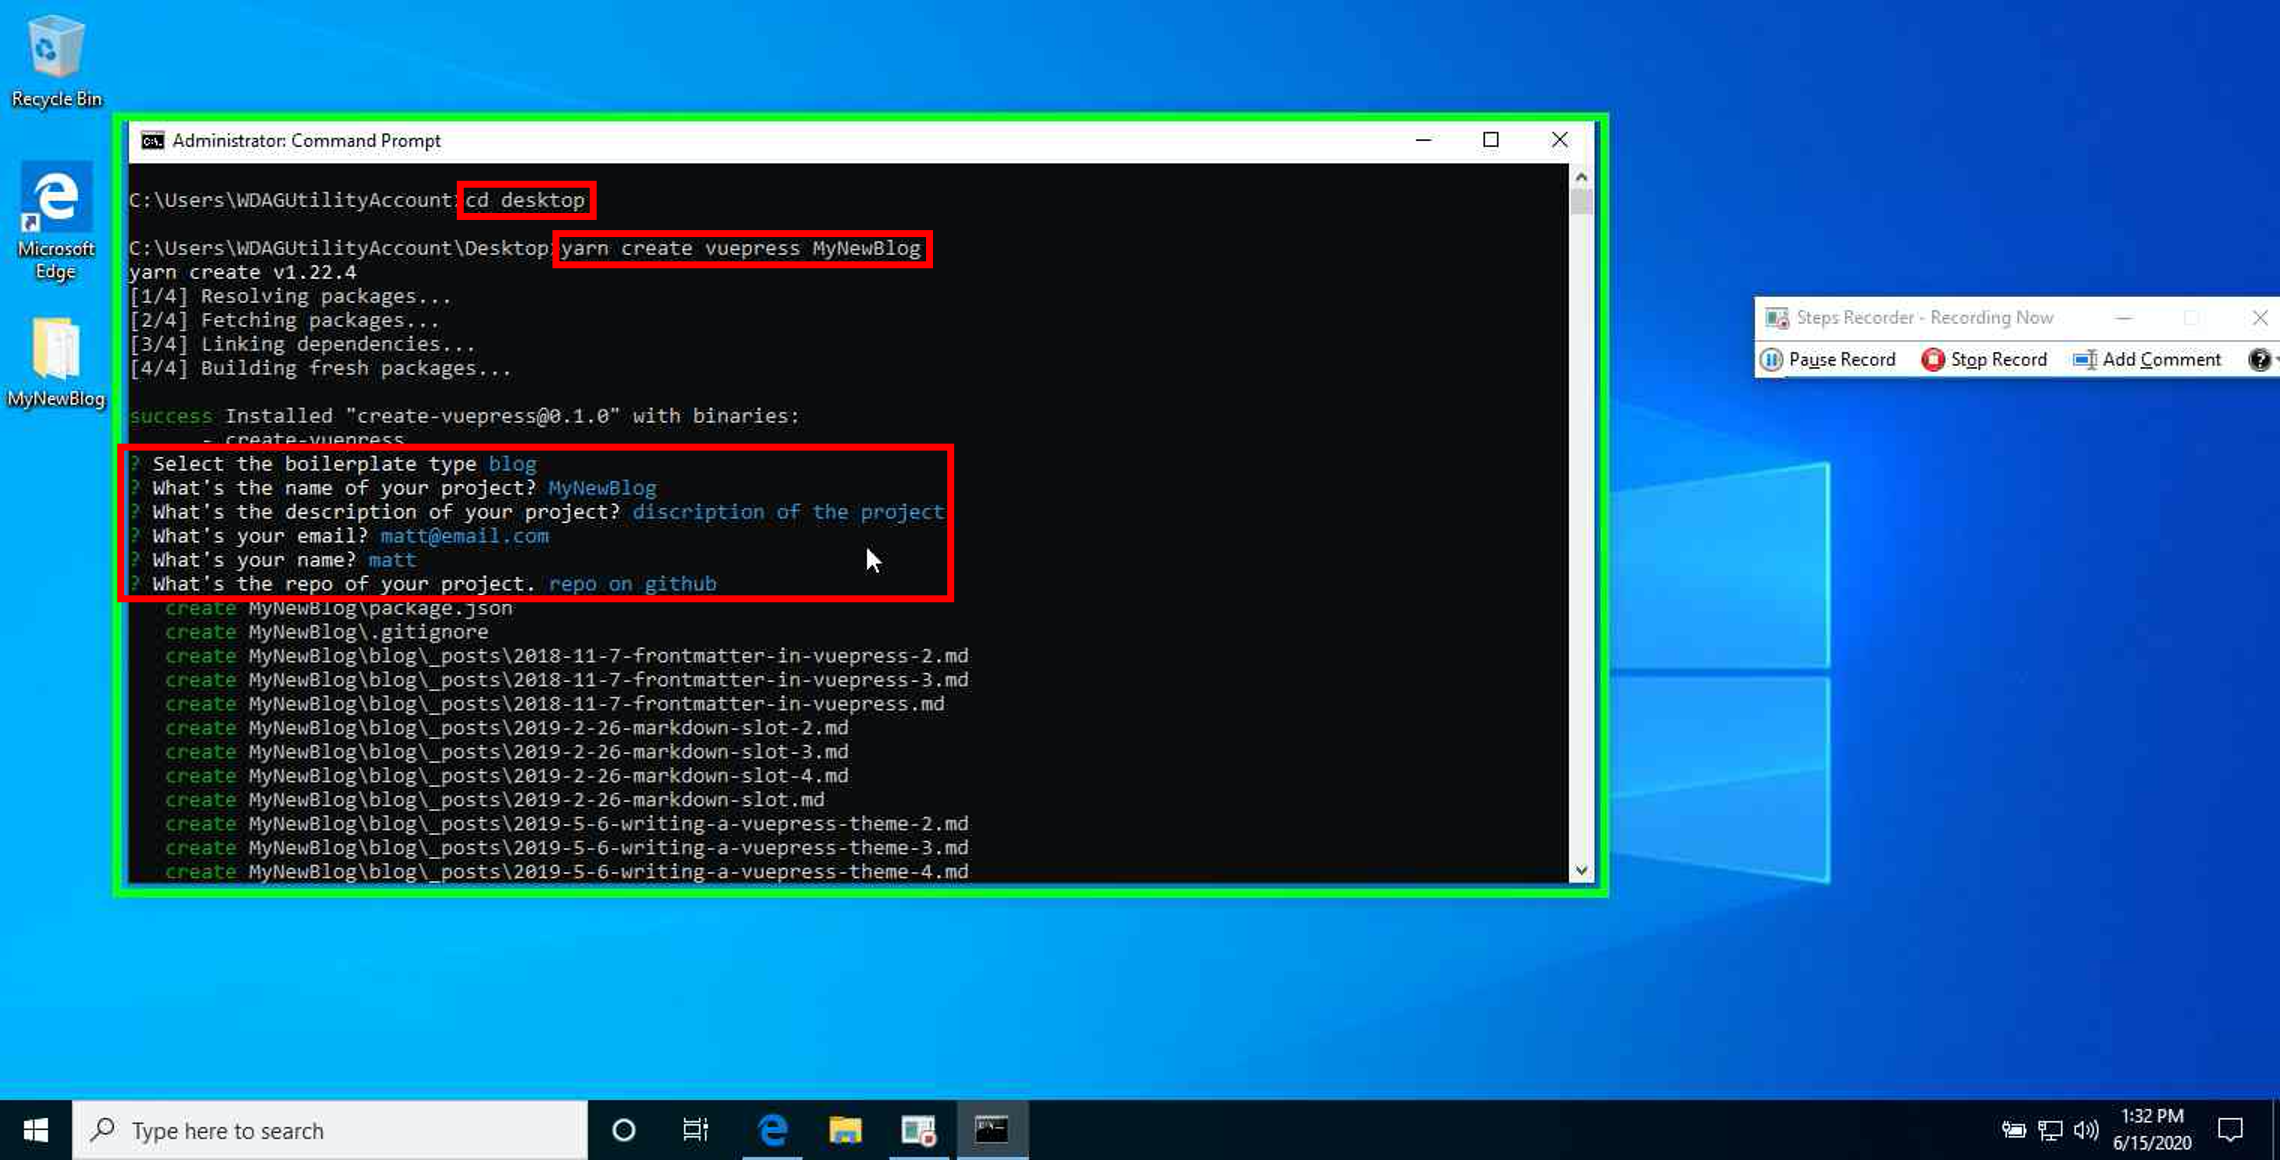
Once you have 'Yarn' installed, it's time to create your new VuePress blog. You can view more information about VuePress here https://vuepress.vuejs.org/. Here is the theme we are using https://vuepress-theme-blog.ulivz.com/. You'll want to start by going to a directory you want to set up your blog. You can do this by using the change directory (cd) command. I will be setting mine up on the Desktop(Windows) by using cd c:\users\username\desktop. Type yarn create vuepress [your blog name without brackets] to create your new project. During installation, there will be a few questions you don't have to fill all of them, hit enter to continue through each one.
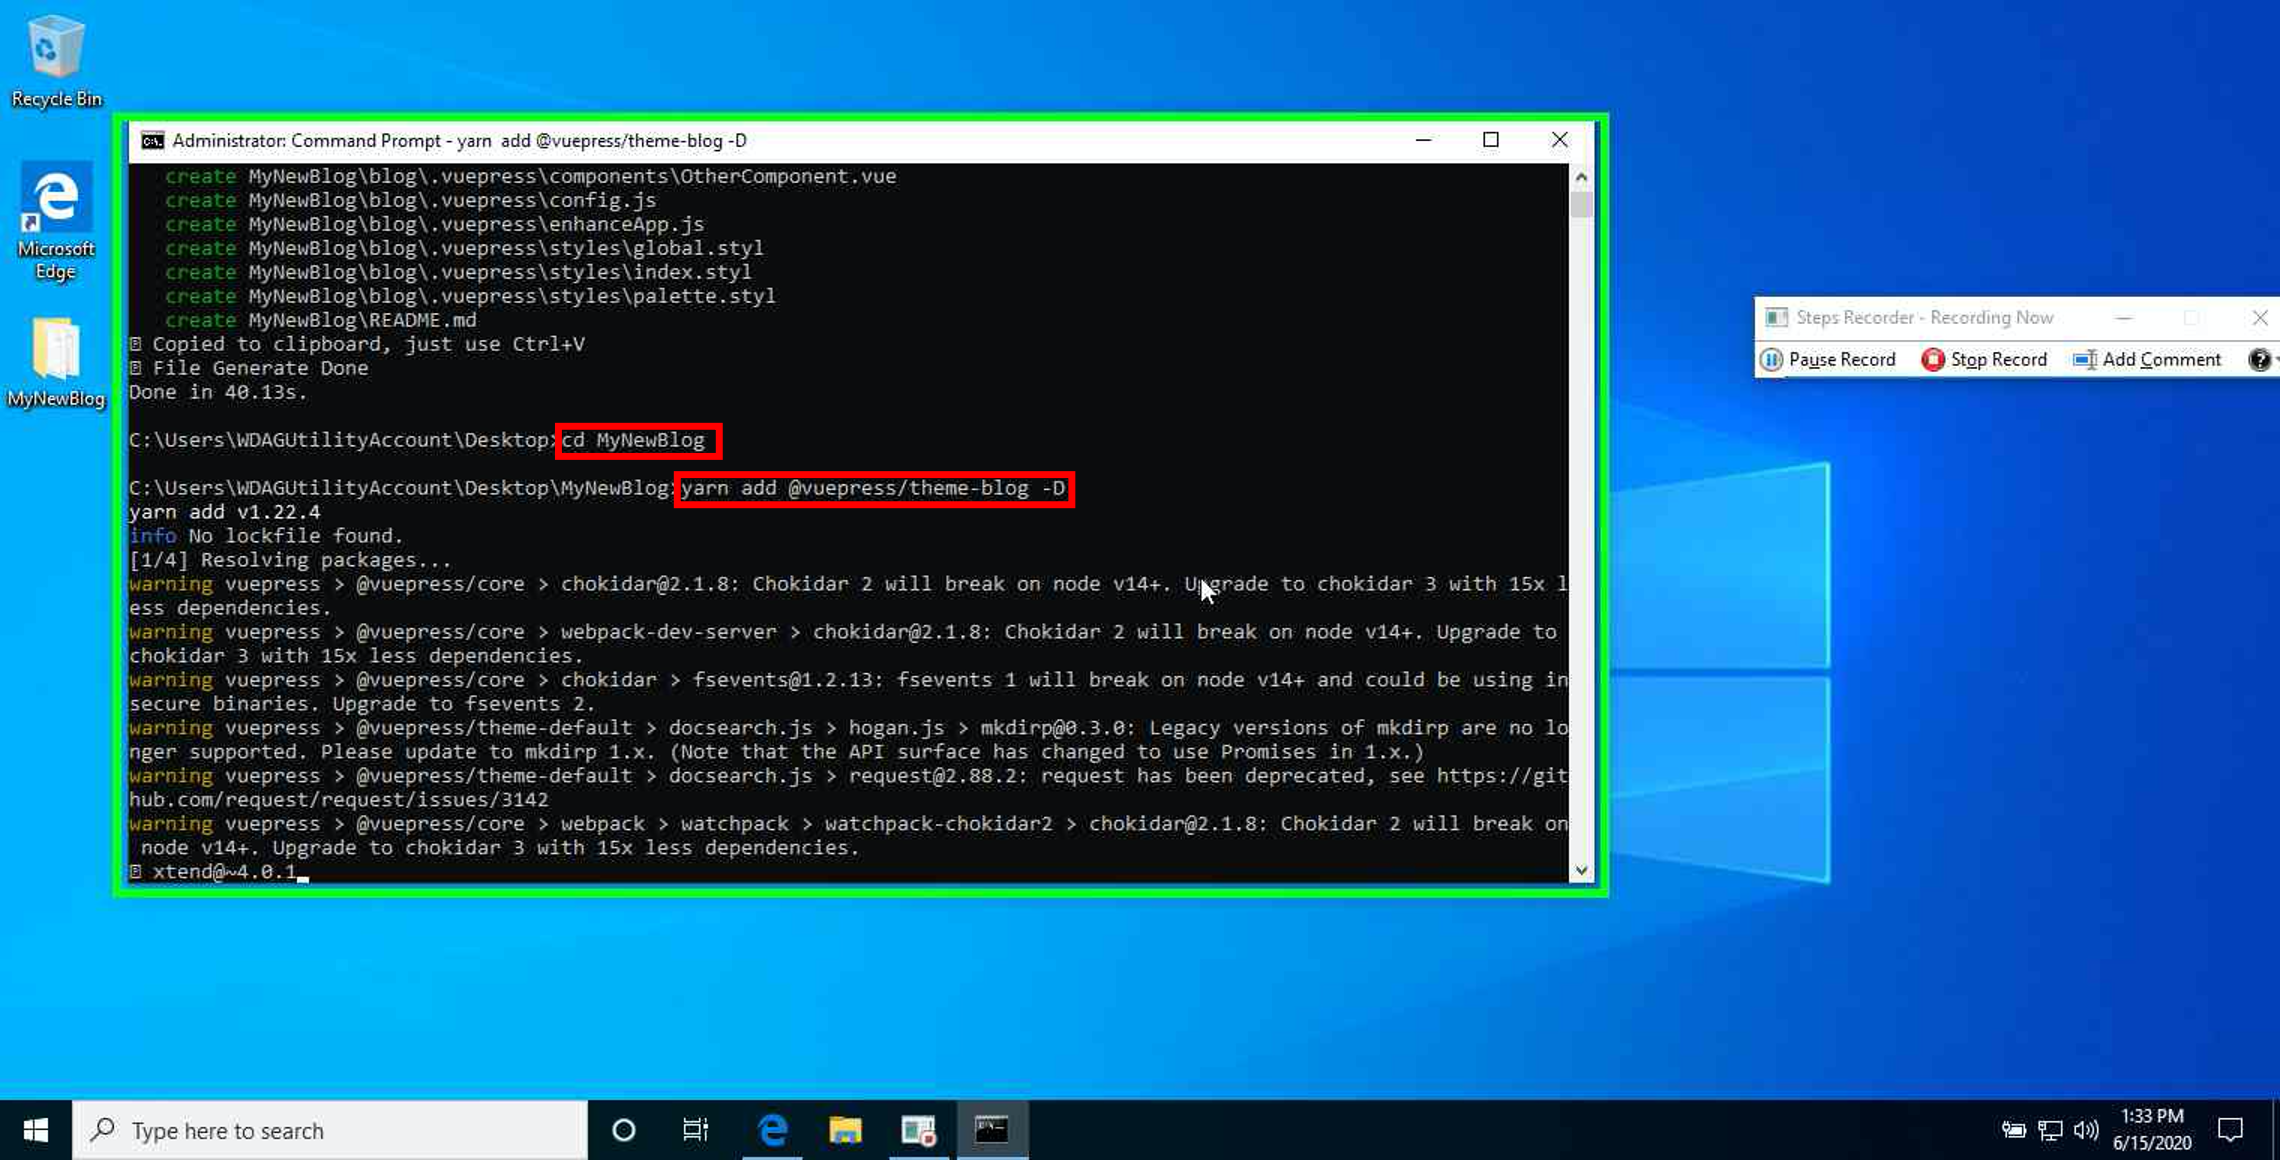
You will now see that you have a new folder with the name of your blog. You will need to change into the new folder by using cd [FolderName without brackets]. According to the @vuepress/theme-blog site (at the time of writing), to have the latest @vuepress/theme-blog package, you will need to run an additional command before testing the new project out yarn add @vuepress/theme-blog -D.
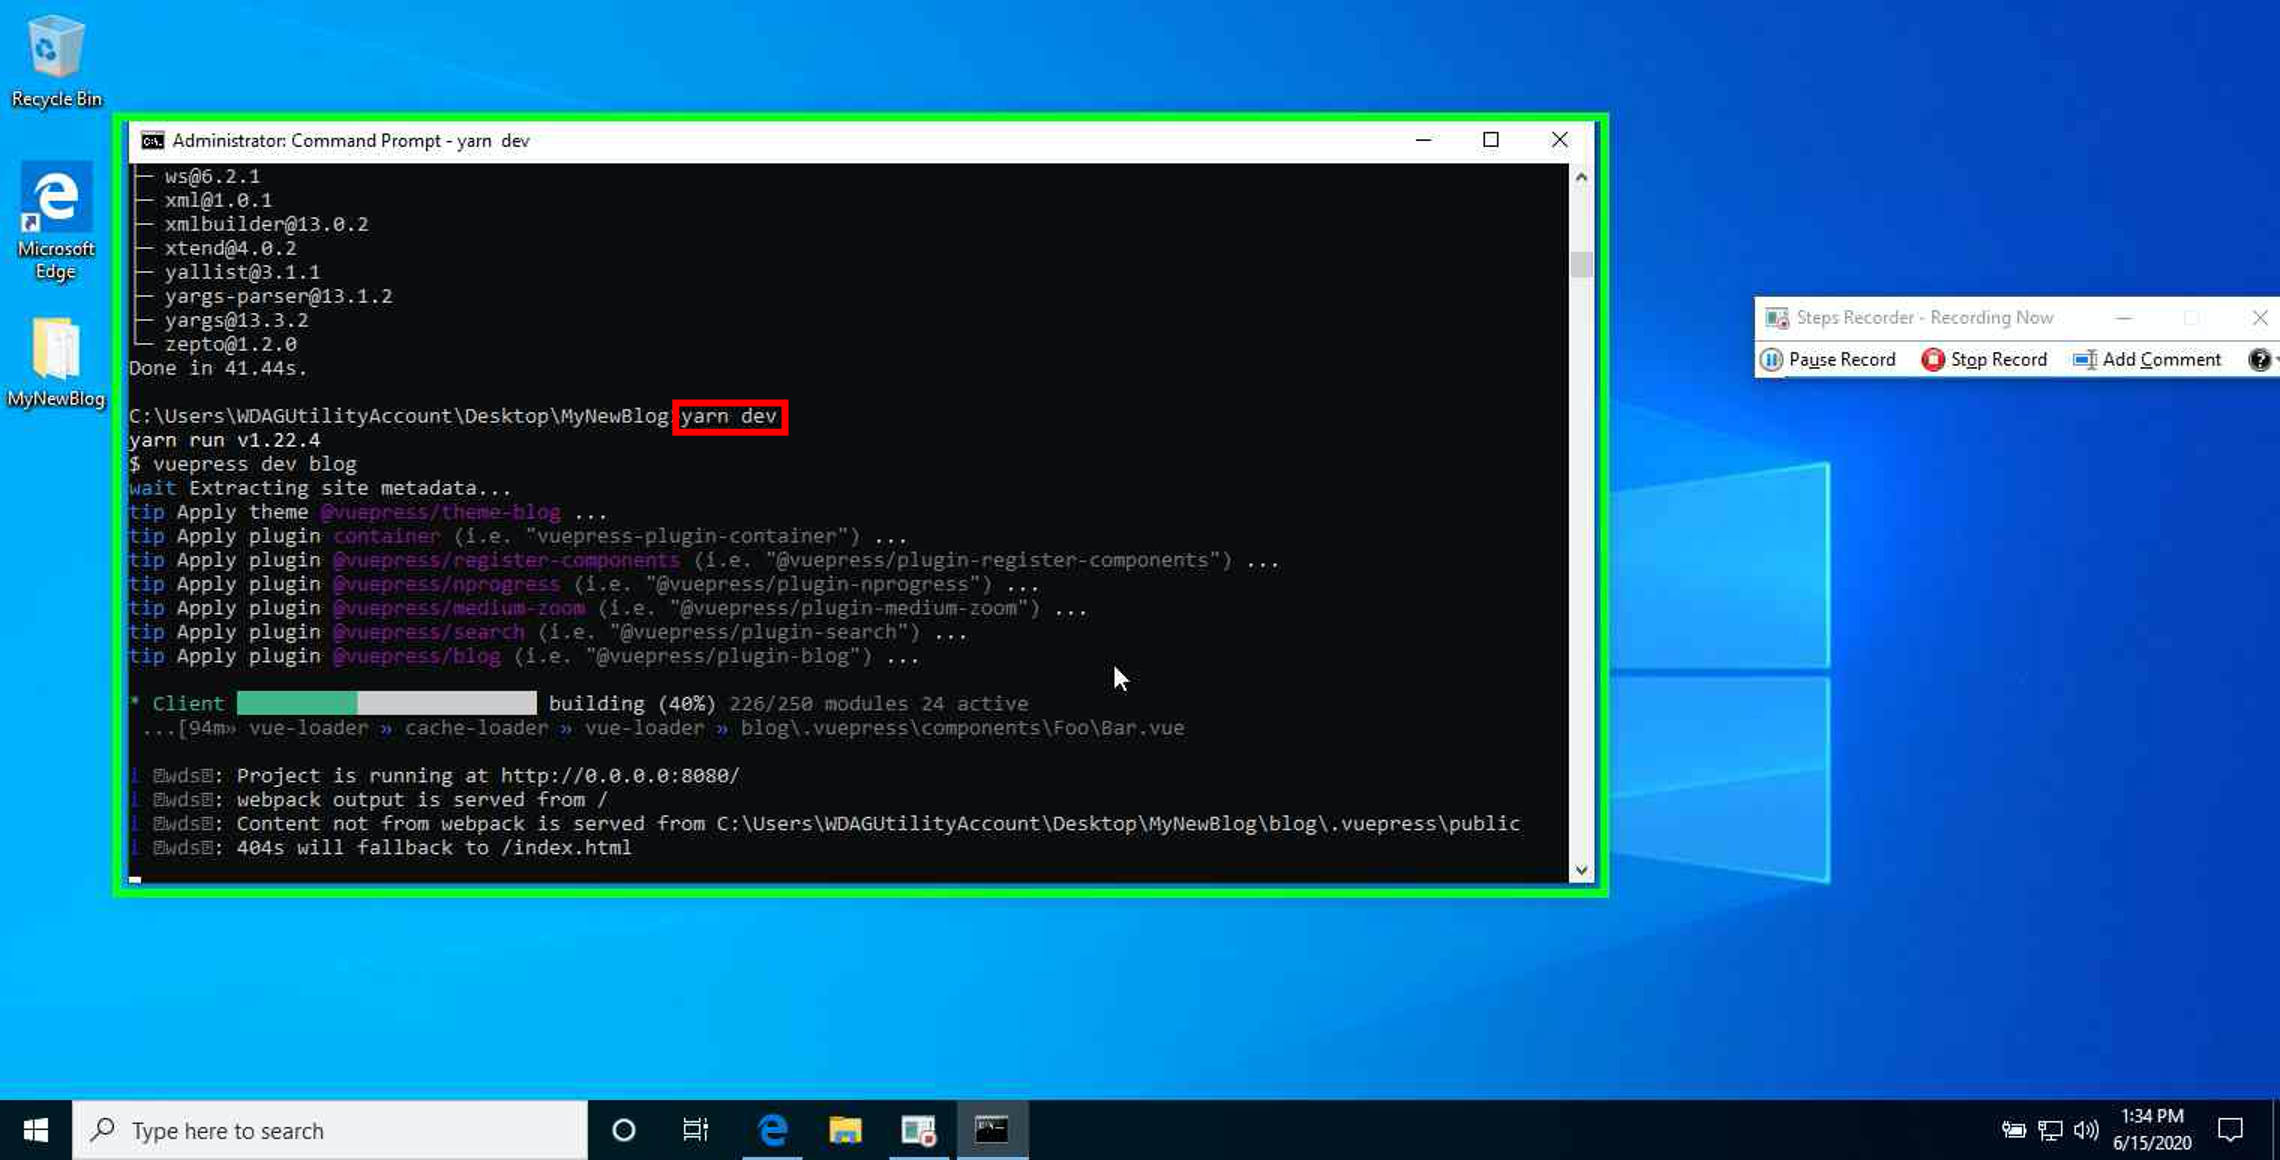
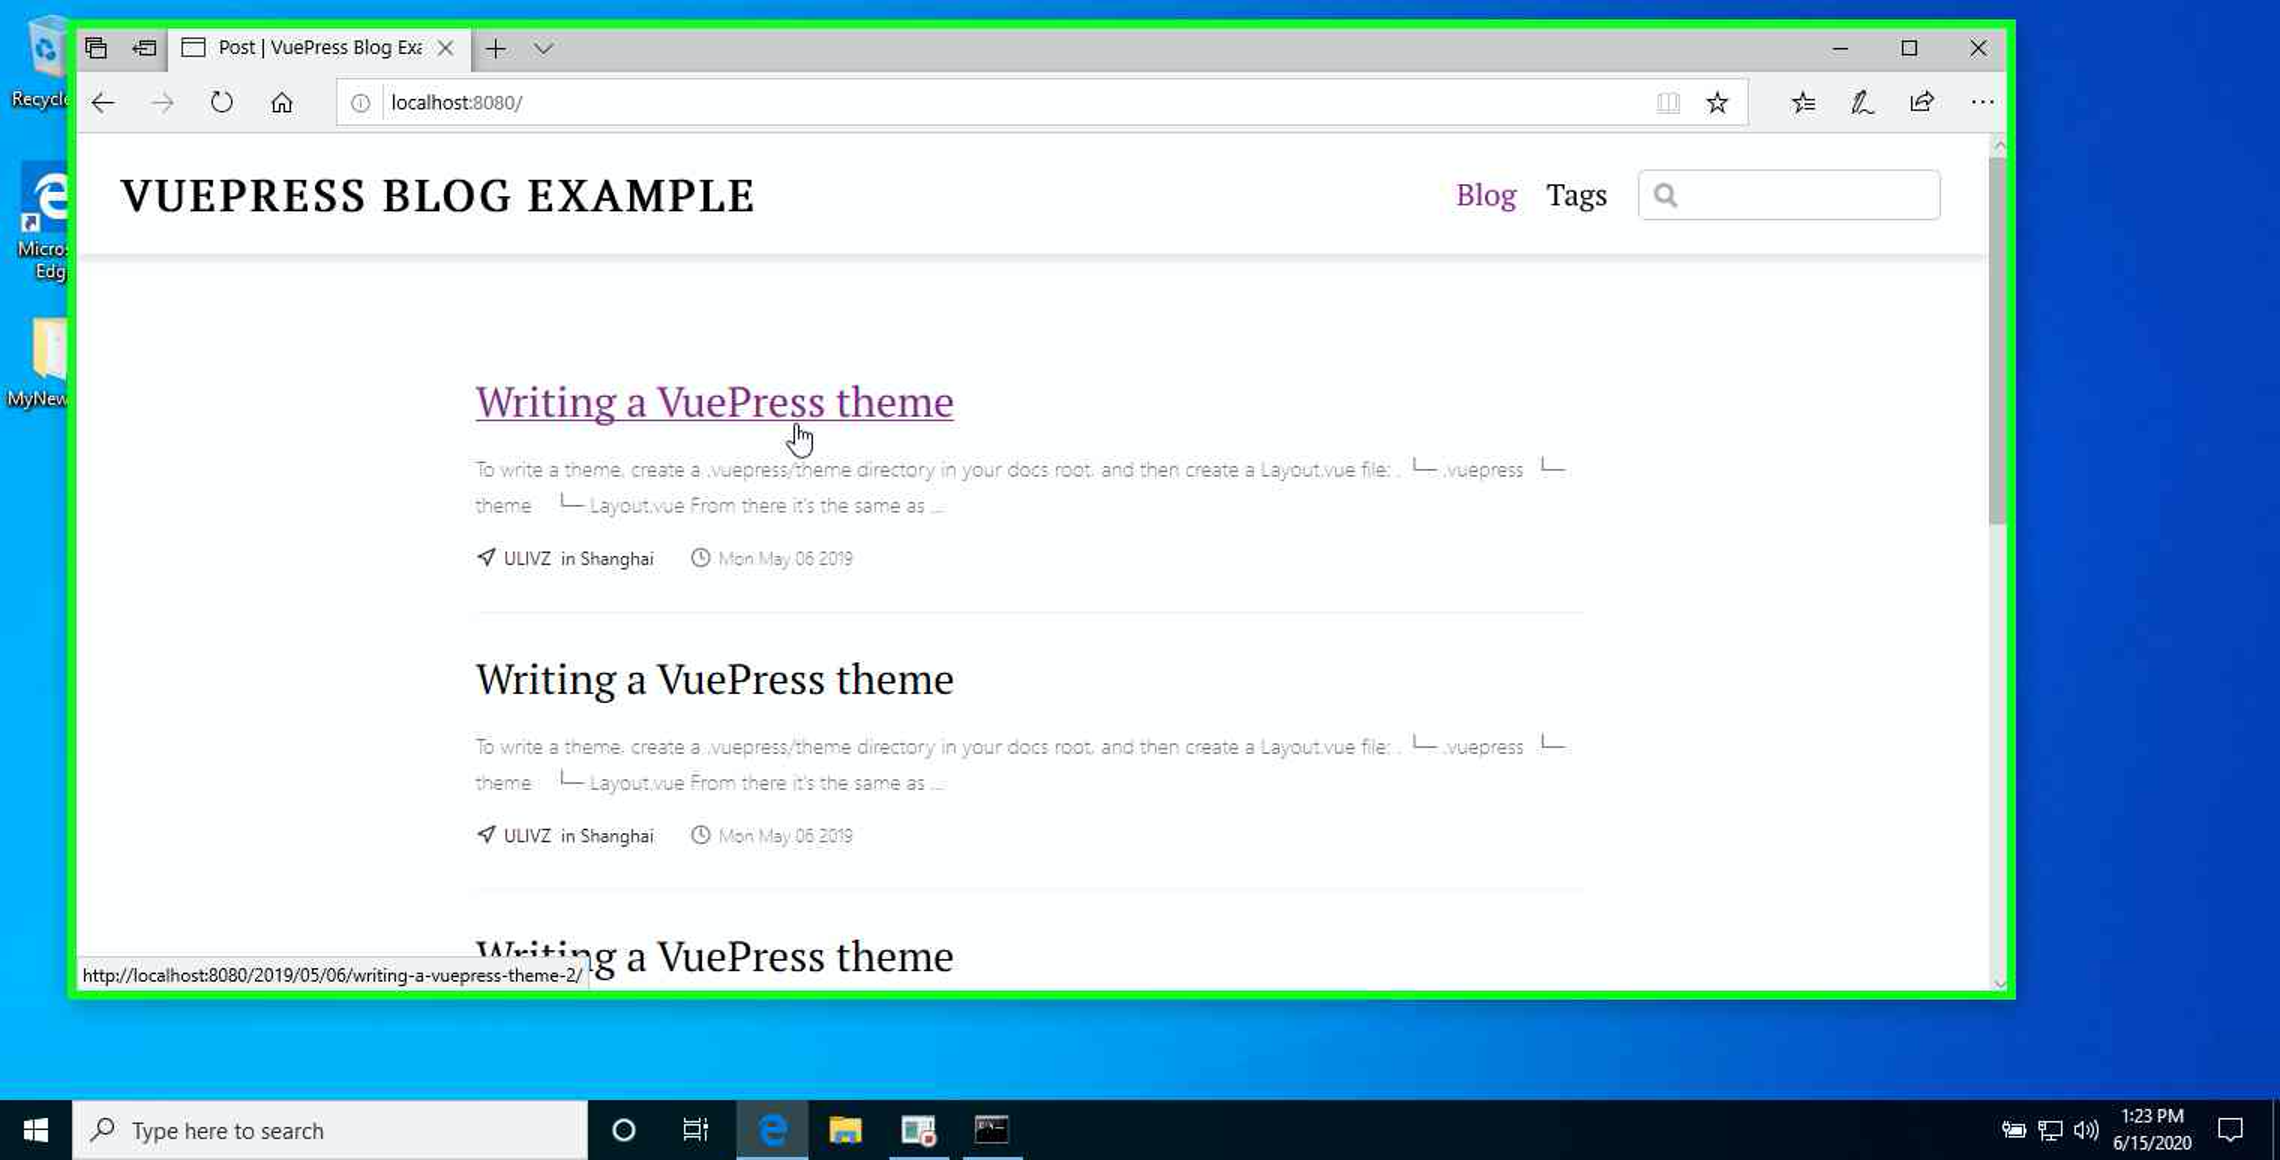
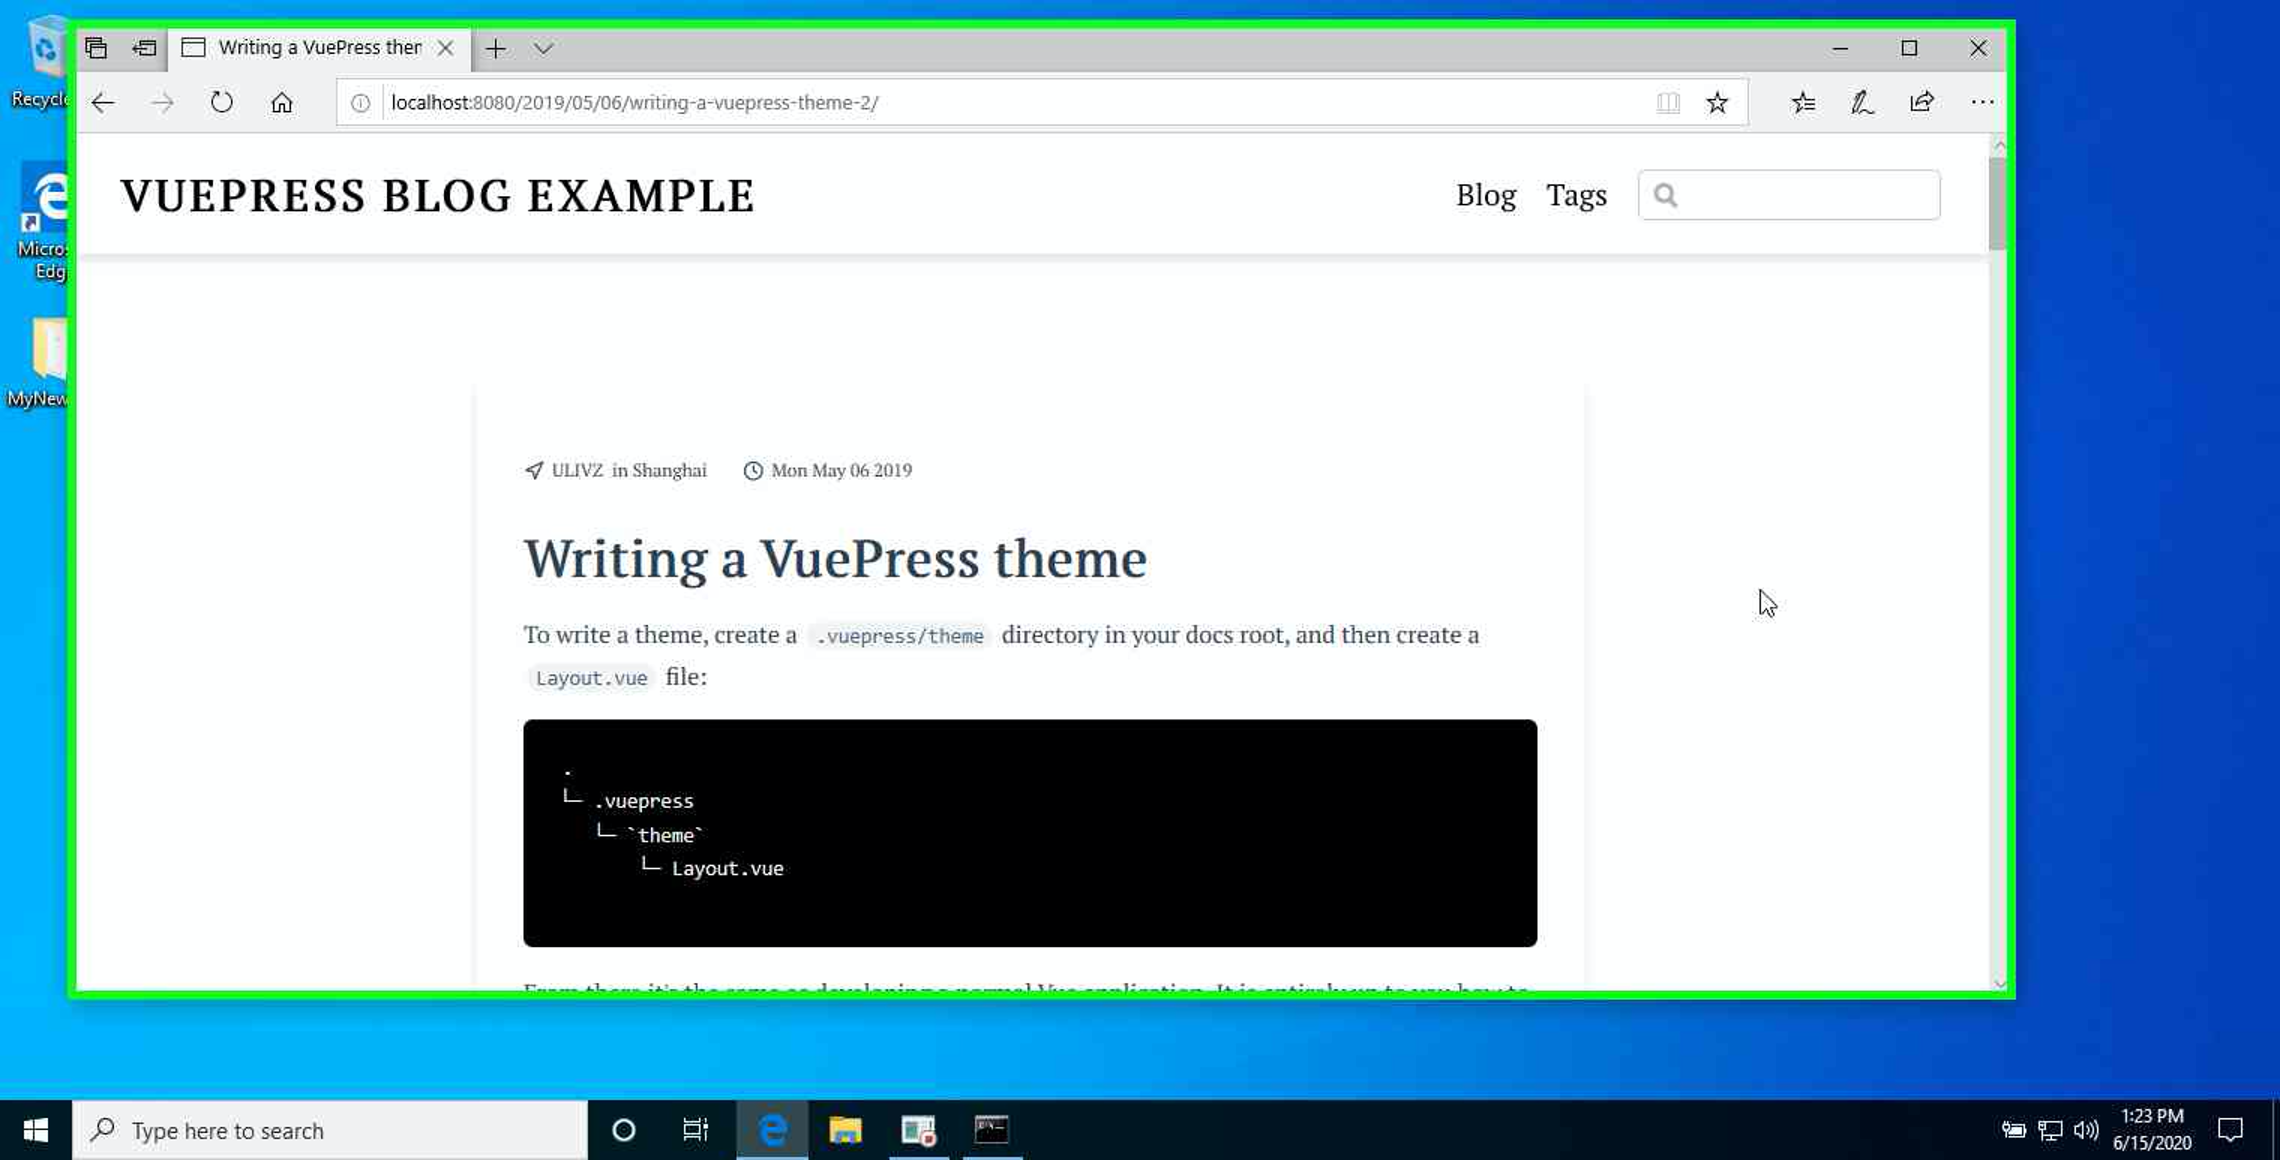
After all of that is done, you are ready to run the project to see how it looks. You can do this by running yarn dev. If you see a line in the console showing http://localhost:8080, congratulations, you are ready to get your blog started.
In the next article, I will go through how to set up an Azure Static Web App and Github actions to deploy to it. Let me know if you have any questions in the comments below.
If you find this an other content I post helpful, please consider buying me a coffee using the button below.