In this article, I discuss how to deploy your new VuePress Blog to an Azure Static Web app. Link to How to Build a VuePress Blog, where I build the blog that we will be deploying in this article. As a bonus of Azure Static Web Apps, they are automatically HTTPS with a certificate included.
Once you are ready to deploy your blog, you'll want to add it to a GitHub repository if you haven't already. I have created this blog site you are reading on a public GitHub repository https://github.com/MRSessions/mrsessionsblog and will be showing you how I deploy it from there.
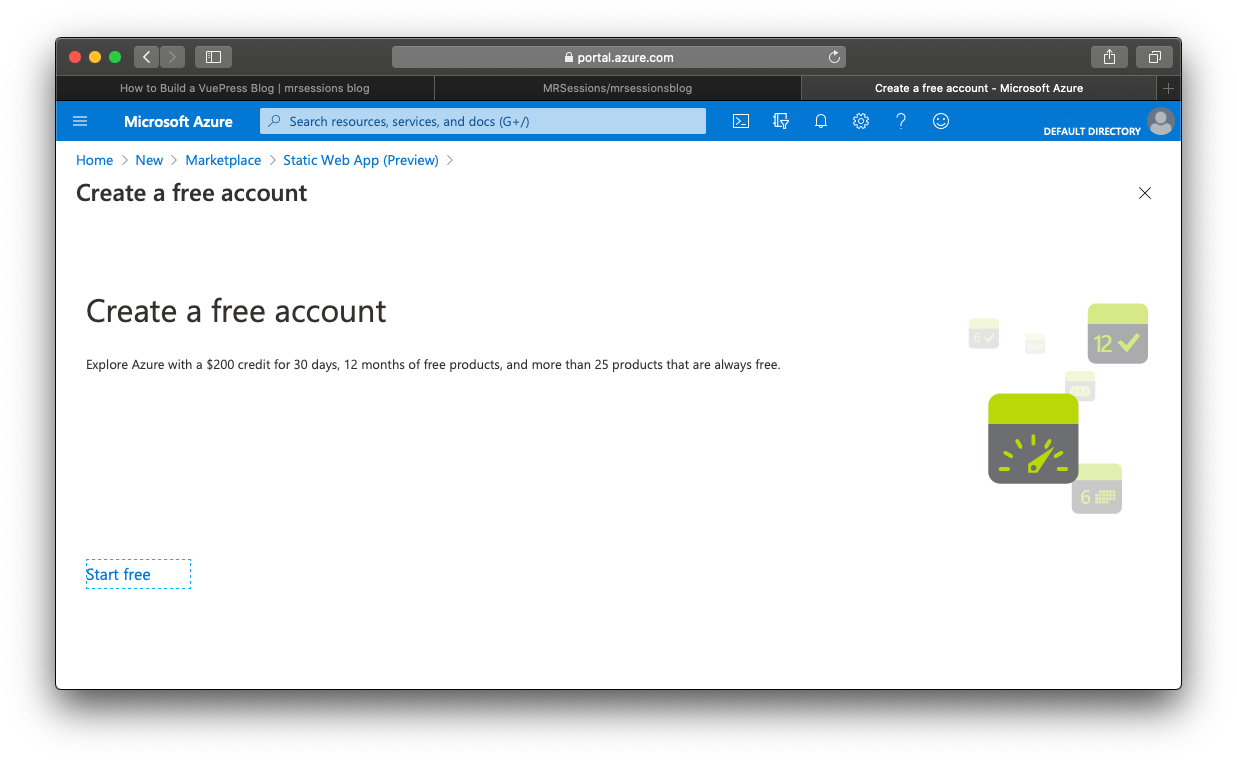
After getting your code setup on GitHub, you'll want to go over to https://portal.azure.com and sign in. You'll need a Microsoft Account to log in, if you do not have one, you can create one at the login page. If you have never used Azure before, you'll need to create a free account. You are required to put in your card, but will never be charged unless you explicitly upgrade your account after the trial period to do that. At the time of writing, you should get a $200 credit for 30 days, and some other perks. After the 30 days, you can still use free resources on Azure without upgrading (if you do have a paid resource, this will stop working).
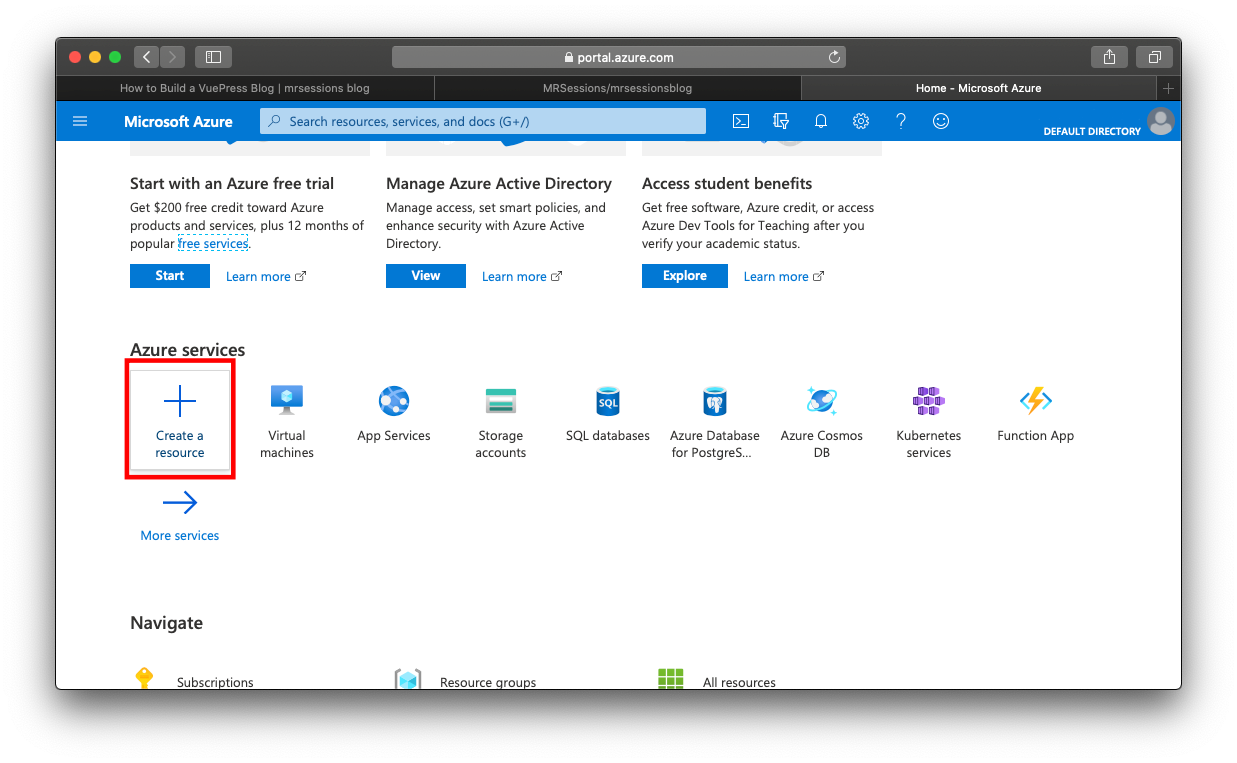
On the Azure dashboard, select the 'Create a resource button'.
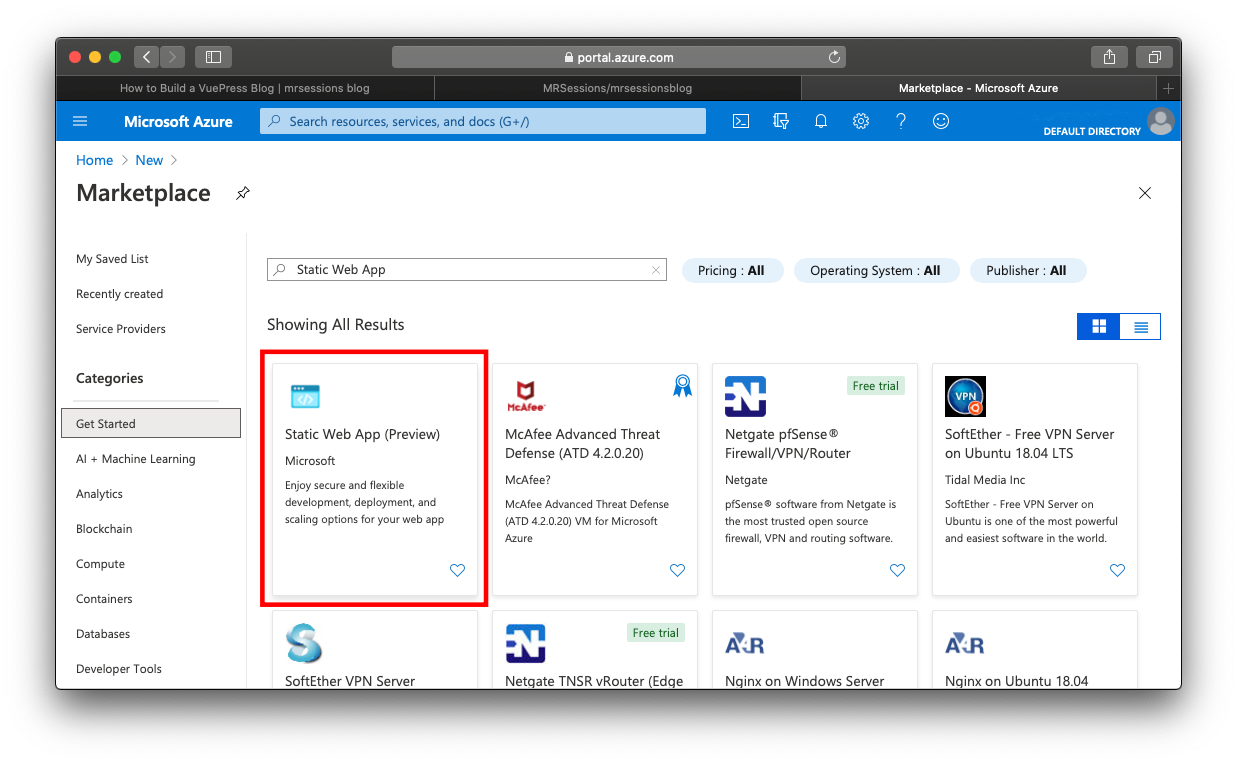
Search for 'Static Web App', click on the 'Static Web App (Preview) button', then the 'Create' button on the next page.
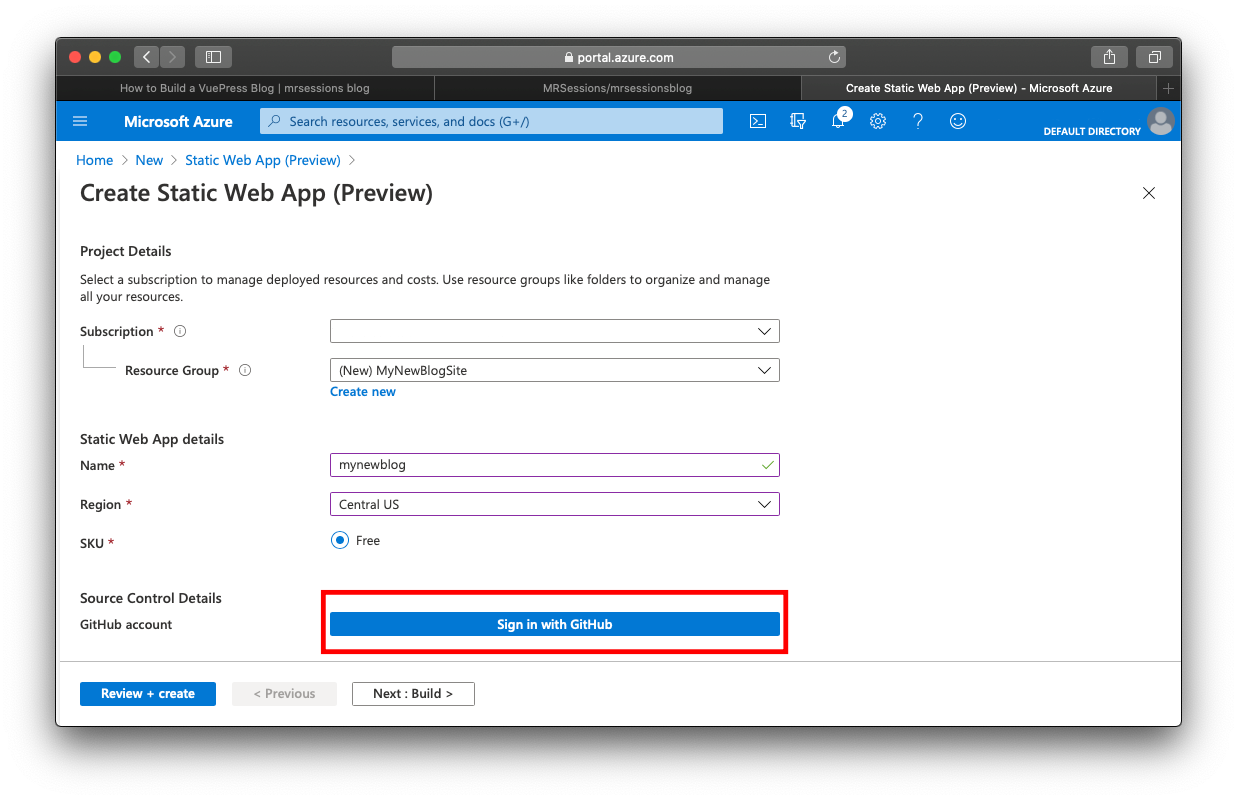
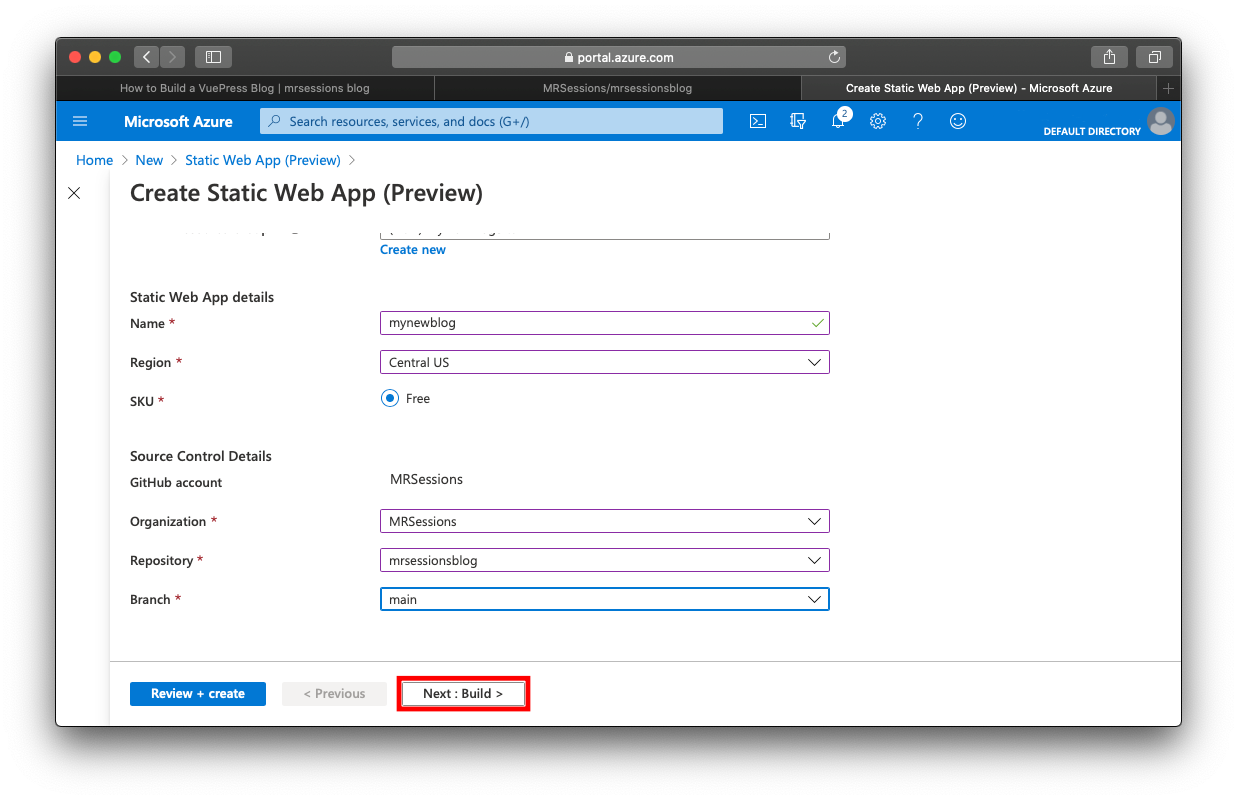
On the 'Project Details' page, you'll select your subscription and create a resource group if you don't have one. Create a name for your blog and select a region. At this time, there is only a Free version of Azure Static Web Apps since it is currently in preview. Then click 'Sign in with GitHub' and select where your app is located. After that, click the 'Next: Build >' button.
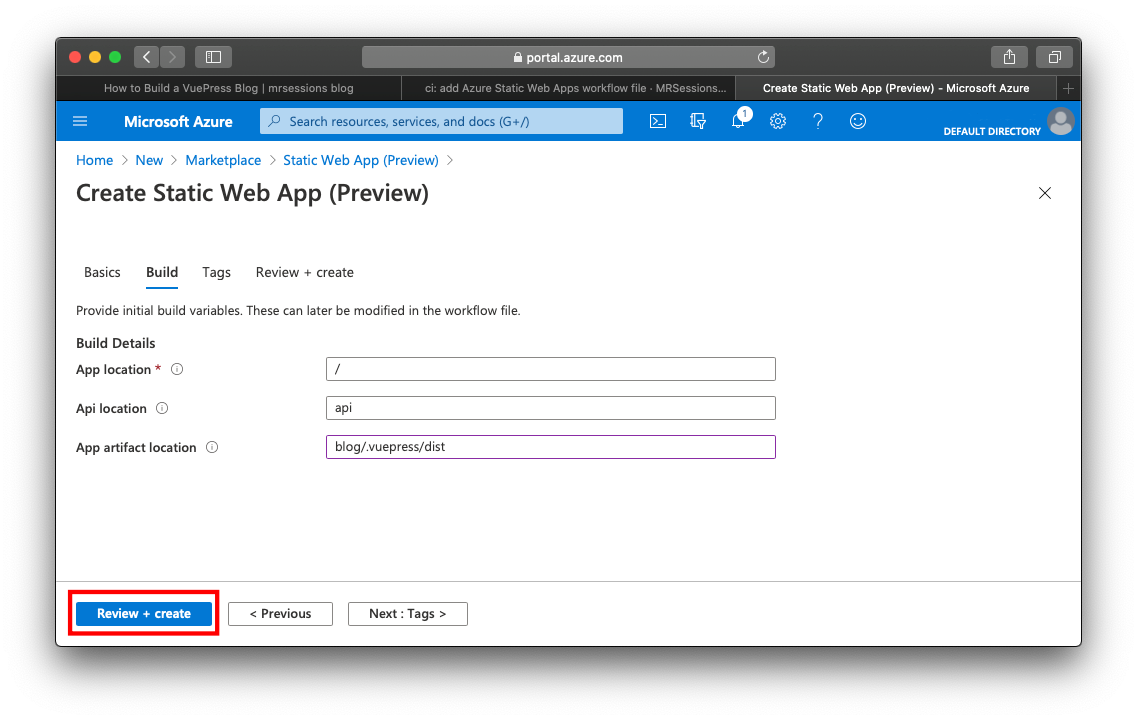
Here you will only need to change the 'App artifact location' field to blog/.vuepress/dist. Then click 'Review + create'. You will now see a summary of your resource, just hit 'Create' at the bottom.
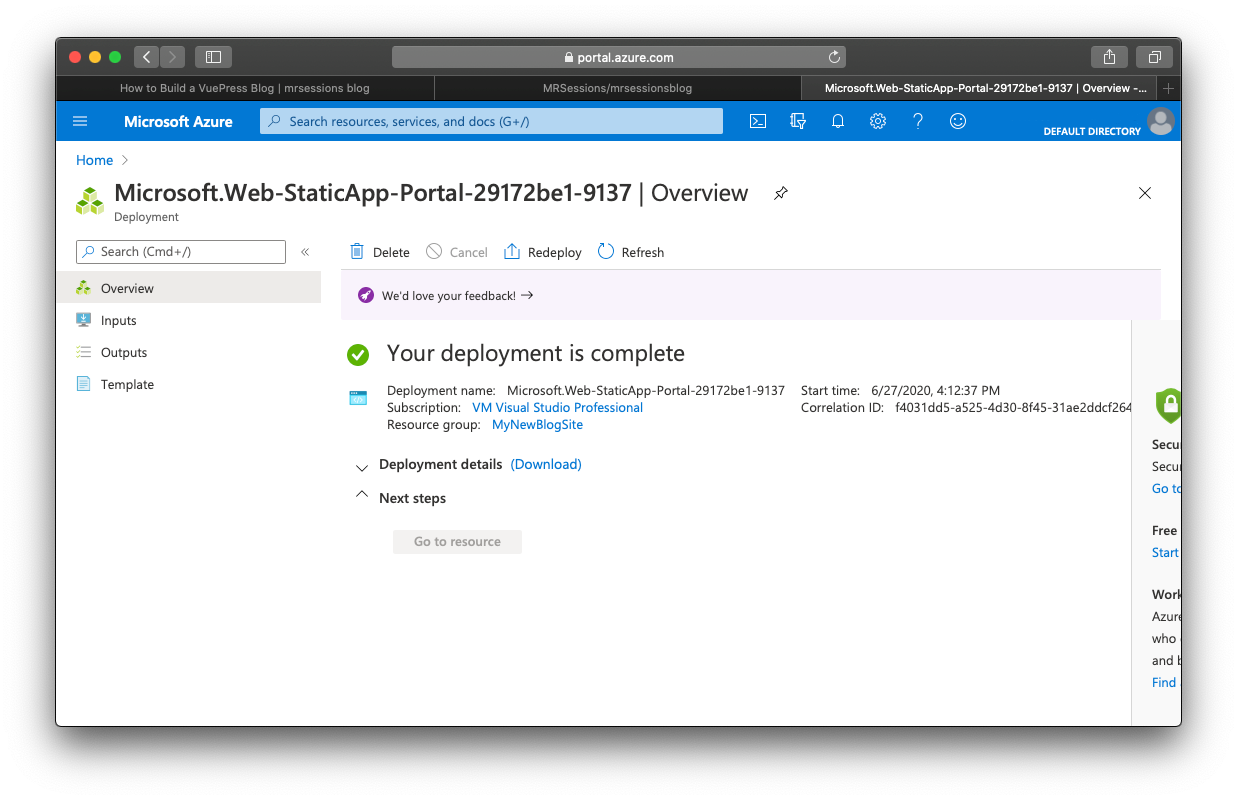
Once you hit create, there are a few things that start to happen here. First, Azure will create your resource.
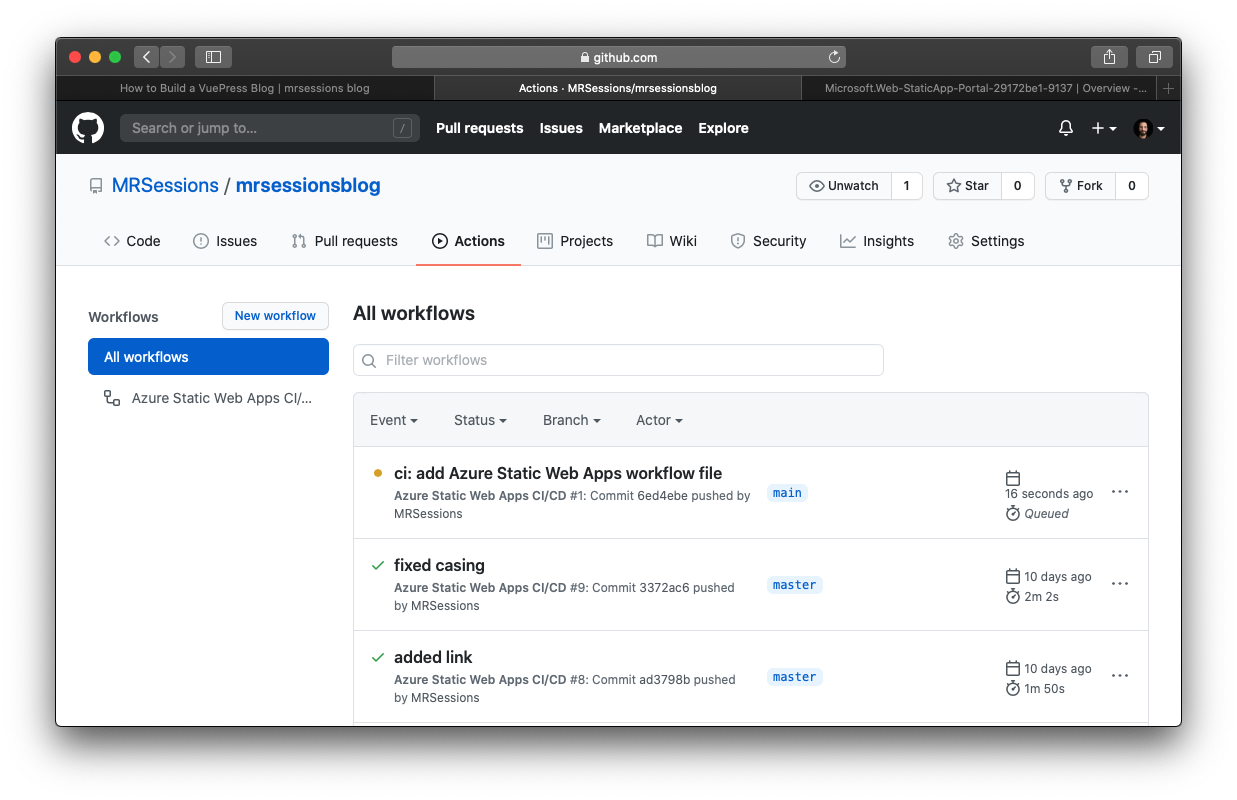
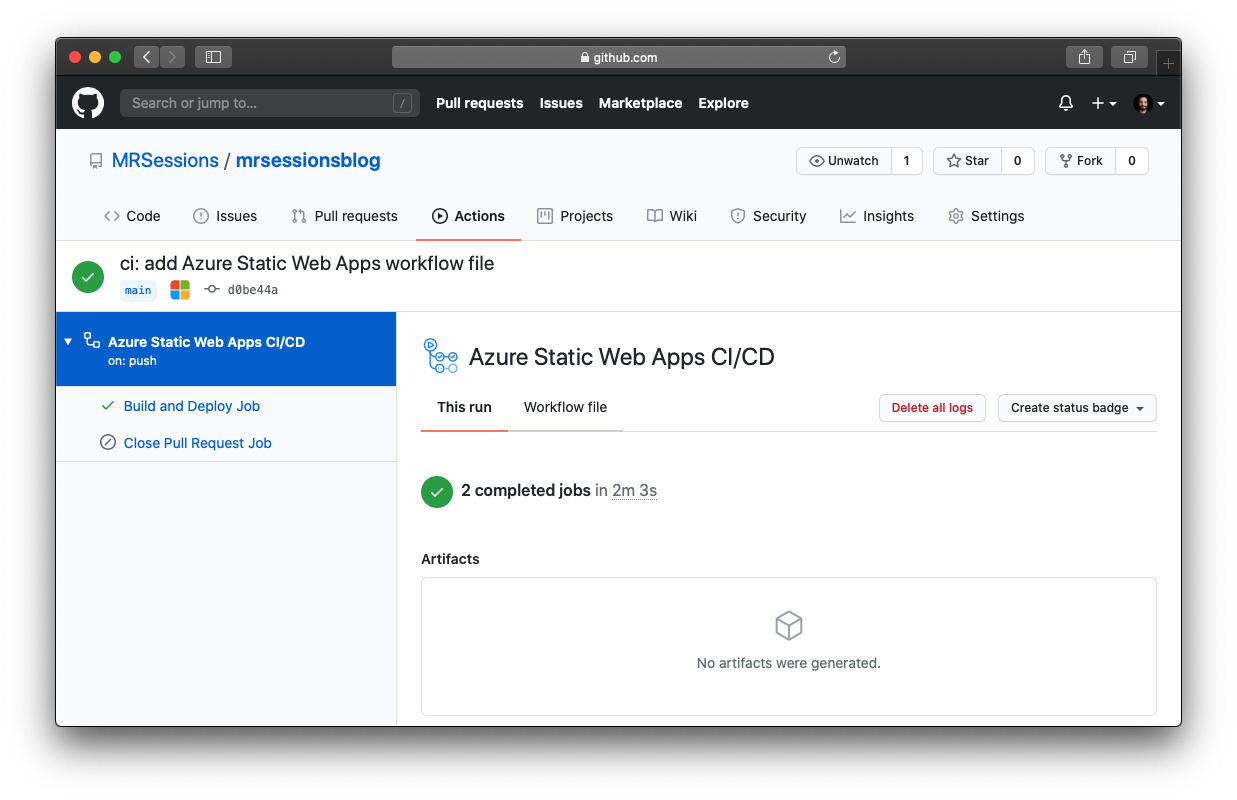
Second, once your resource has been created, you can go over to GitHub where your project is, click on 'Actions', and you'll see a new action that is kicked off from creating the Azure resource.
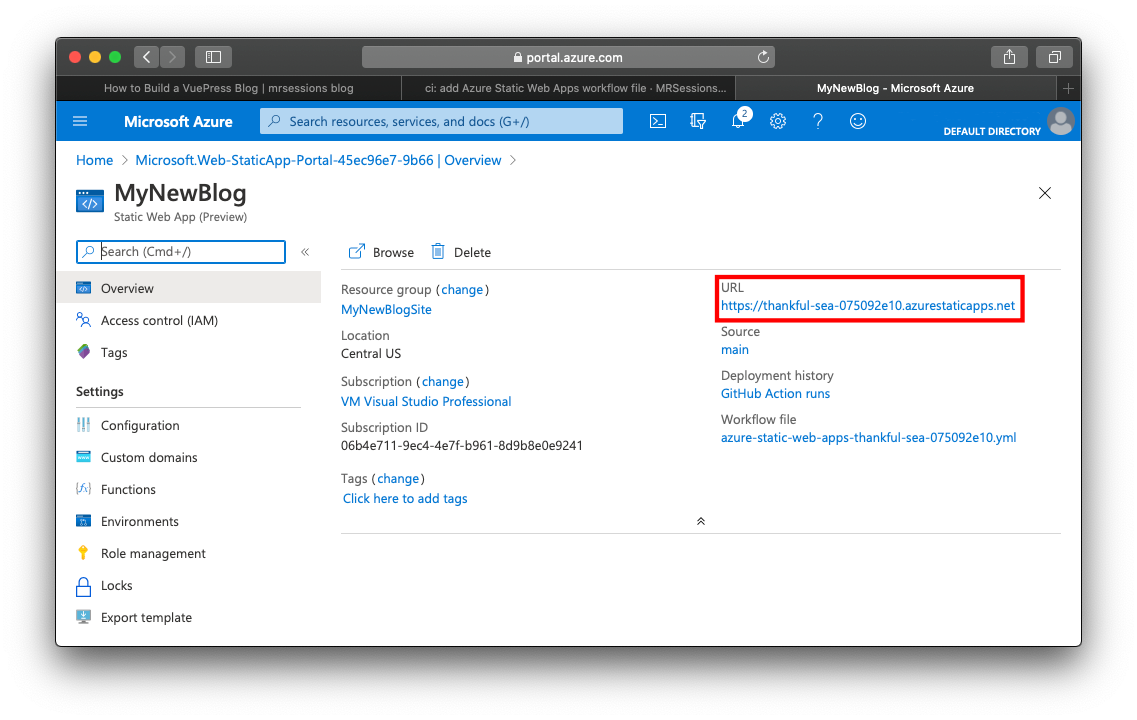
Third, after that has finished, you will be able to navigate to your new blog site. You can view what the URL of your blog site is by going back to the Azure Static Web App resource that you created and see in the overview the URL that was created for you.
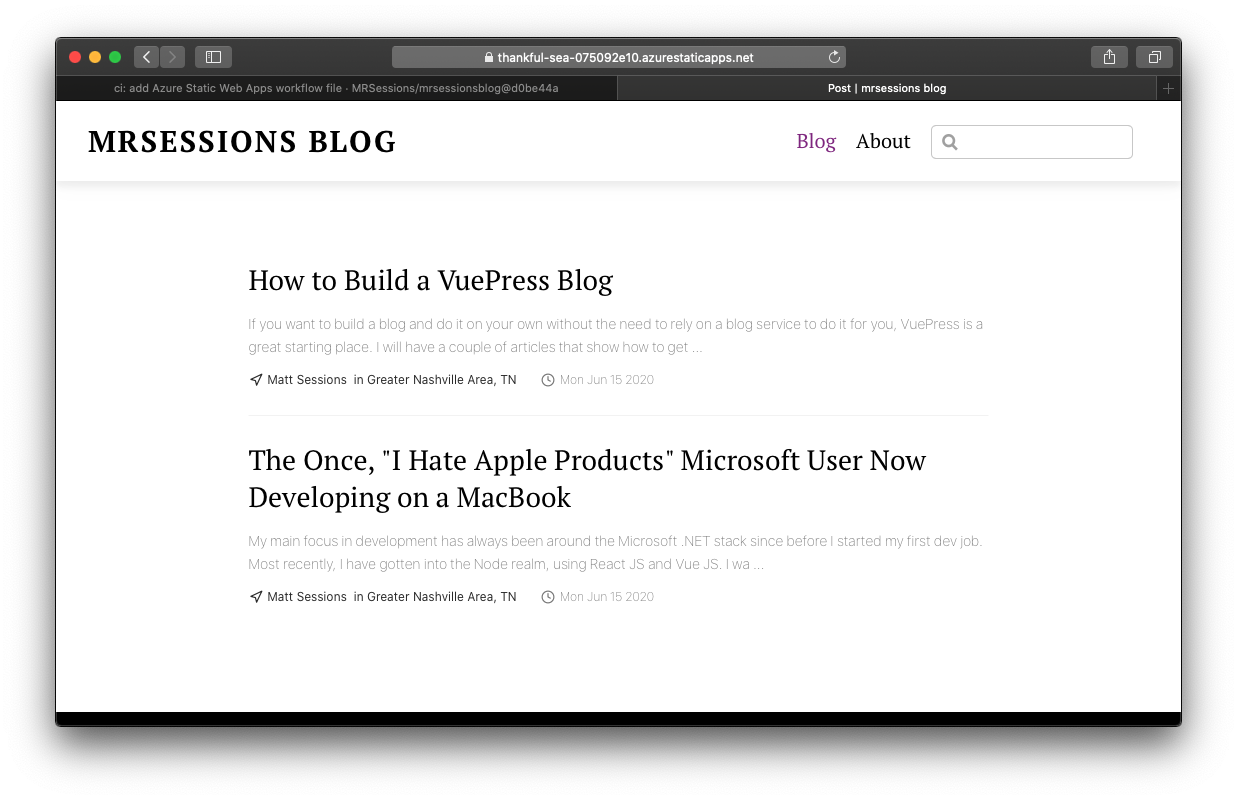
That's all there is to get your blog up and running. There is another step that you can take to get a real URL instead of using the default one created by Azure. We can save that for another time though.